

DUMBO is often reduced to one Washington Street photograph, yet the neighborhood’s stronger visual story includes two bridges, stone warehouses, cobbles, ferry movement and a waterfront that changes minute by minute. Arrive early enough to explore beyond the famous frame.
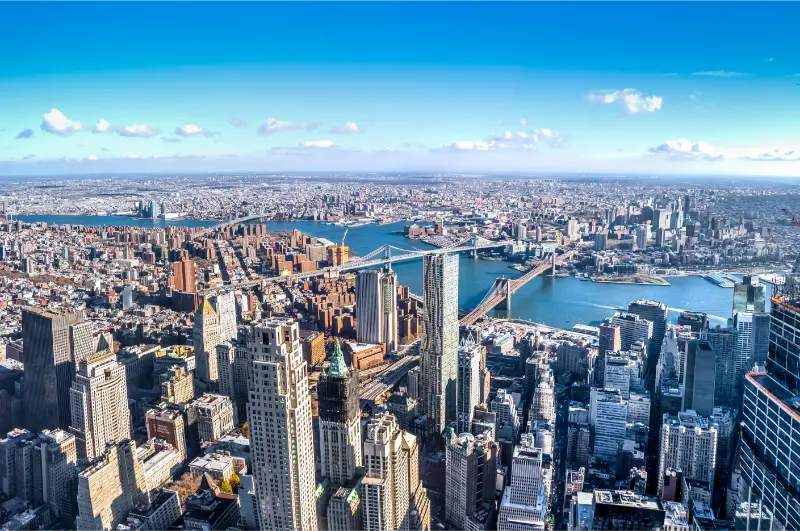
This guide to DUMBO photo spots focuses on usable locations, efficient routes and responsible photography. Conditions change with construction, private events, weather and crowd controls, so treat any exact viewpoint as a starting point and follow current signs on arrival.
Quick planning summary
| Best light | Early morning, golden hour and blue hour |
|---|---|
| Best crowd strategy | Weekdays and the first hour after sunrise |
| Useful equipment | Phone or camera, charged battery, lens cloth and compact rain protection |
| Essential rule | Remain in legal public space and never block circulation |
Best locations and compositions
Washington Street
Stand on the sidewalk or designated safe space, keep moving and never use the active roadway as a portrait studio.
Walk around the viewpoint before choosing the obvious position. A few meters can remove signs, separate overlapping buildings or add a useful foreground. Keep paths, stairs, cycle lanes and entrances clear while composing.
Pebble Beach
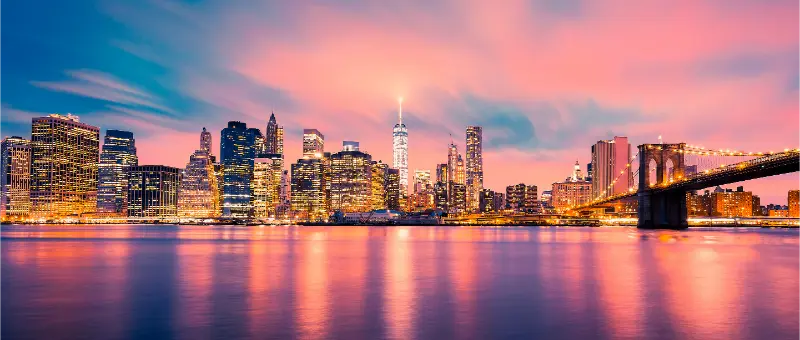
The textured foreground gives depth to Manhattan and Brooklyn Bridge compositions, especially around blue hour.
Walk around the viewpoint before choosing the obvious position. A few meters can remove signs, separate overlapping buildings or add a useful foreground. Keep paths, stairs, cycle lanes and entrances clear while composing.
Main Street Park
Lawns, paths, bridge structure and Jane’s Carousel provide flexible family and architectural images.
Walk around the viewpoint before choosing the obvious position. A few meters can remove signs, separate overlapping buildings or add a useful foreground. Keep paths, stairs, cycle lanes and entrances clear while composing.
Empire Stores passages
Brick arches and framed waterfront glimpses work in harsher midday light when open waterfront scenes are difficult.
Walk around the viewpoint before choosing the obvious position. A few meters can remove signs, separate overlapping buildings or add a useful foreground. Keep paths, stairs, cycle lanes and entrances clear while composing.
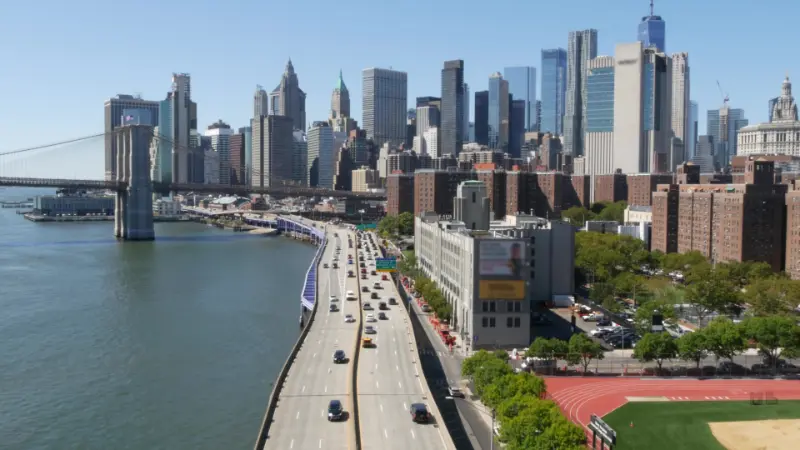
Manhattan Bridge underside
Industrial geometry and layered steel reward wide and telephoto views, but cyclists and service traffic need clear passage.
Walk around the viewpoint before choosing the obvious position. A few meters can remove signs, separate overlapping buildings or add a useful foreground. Keep paths, stairs, cycle lanes and entrances clear while composing.
Build a route instead of collecting pins
Organize photography by neighborhood. DUMBO, Brooklyn Bridge Park and Brooklyn Heights belong in one session. Rockefeller Center, Fifth Avenue and Times Square can form another. Central Park deserves its own route because crossing the park takes longer than the straight-line distance suggests.
Choose one anchor for the best light and place flexible street photography before or after it. If sunset is the priority, arrive at least forty-five minutes early. If sunrise is the priority, verify transport frequency and the opening rules of the park or terrace. Keep one indoor alternative for severe weather.
Best time of day
Early morning gives cleaner architecture, calmer bridges and room to experiment. Midday is difficult in streets with bright sky and dark façades, yet it can work for graphic shadows, interiors and details. Late afternoon adds warmth, while blue hour balances illuminated buildings with a sky that still holds color.
The published sunrise or sunset time is only a reference. Tall buildings can hide the sun well before it reaches the astronomical horizon. Use a sun-position tool for the actual date, but be prepared for scaffolding, seasonal foliage and access changes that a map cannot predict.
Season-by-season photography
Spring brings blossoms and changeable rain; use clouds and wet pavement rather than waiting only for perfect sunshine. Summer provides early sunrises, late sunsets and strong midday contrast. Carry water and avoid leaving equipment in direct heat.
Autumn offers foliage and softer temperatures, particularly in parks. Peak color varies by tree, location and year. Winter reveals architecture through bare branches and gives earlier blue hour, but cold drains batteries faster. Snow can transform familiar locations, while ice makes bridge and park surfaces hazardous.
Phone photography tips
Clean the lens before every important sequence; pocket lint is responsible for many hazy night pictures. Tap the brightest important area and lower exposure slightly to protect billboard or sky detail. Use the main lens in low light because digital zoom usually magnifies noise and blur.
Turn on grid lines, keep vertical buildings from leaning unintentionally and take a normal frame as well as an ultra-wide version. Portrait mode can fail around cables, hair and railings, so inspect edges before leaving. At night, brace the phone against a stable public surface without placing it where it can fall or obstruct anyone.
Camera settings that work as a starting point
For handheld daylight street scenes, aperture-priority around f/5.6 to f/8 and auto ISO with a safe minimum shutter speed is flexible. For moving people, choose a faster shutter. For skyline blue hour, expose for highlights and review the histogram rather than trusting screen brightness.
A tripod can support lower ISO and longer exposures, but many observation decks and interiors restrict it. Compact tripods still create an obstruction in crowded public space. When a tripod is unsuitable, use stabilization, a wider aperture, careful bracing and short bursts while maintaining enough shutter speed for sharpness.
Portraits without losing the location
Place the person away from the background when possible and use a moderate focal length to control distortion. Do not automatically blur the skyline until it becomes unrecognizable. One environmental portrait and one tighter frame tell a better story than twenty versions of the same pose.
Ask permission before making an identifiable stranger the subject, especially children, performers and people at work. Public visibility is not the same as personal consent. Never ask a companion to sit on a barrier, step into traffic or enter a restricted area for a more dramatic photograph.
Crowds, tripods and permits
Ordinary handheld tourist photography in public space is different from a production using extensive equipment, models, blocked areas or commercial staging. Permit rules depend on the property and activity. Parks, transit facilities, private plazas and observation decks can each impose separate conditions.
Keep gear physically close, avoid spreading bags on benches or pavement and never attach equipment to structures without authorization. Security personnel and event staff can redirect visitors even when a place is normally accessible. Follow the current instruction rather than arguing from an older online post.
Safety and respect
Watch surroundings before watching the screen. Stop fully before composing, step away from curb edges and keep valuables controlled in dense crowds. At night, use populated routes, know the return station and avoid isolating yourself for a photograph. Weather, wind and slippery surfaces deserve the same attention as personal security.
Residential stoops, hotel terraces, gardens and rooftop spaces are not public simply because they appear online. Do not enter private property or reveal a resident’s personal details. At memorials and places of worship, decide whether a photograph is appropriate before considering composition.
Create a backup shot list
Save three alternatives near the main viewpoint: an architectural detail, a street scene and an indoor or sheltered subject. If construction, fog or an event removes the expected skyline, this small list prevents a wasted journey and often produces a more original visual story. Record the location after shooting instead of relying only on memory.
Where to stay for early and late photography
A convenient base can make sunrise and blue-hour work much easier. Choose by the cluster you expect to photograph: Lower Manhattan for harbor scenes, Midtown for towers and night lights, or Brooklyn for bridge and waterfront access. Compare the final price, cancellation terms and late-night transport rather than judging a hotel only by distance on a map.
Disclosure: Dreaming New York may earn a commission from qualifying bookings, at no extra cost to you.
Check New York City hotel availability on Booking.com
Useful official resources
Related Dreaming New York guides
Frequently asked questions
Do I need a professional camera?
No. Light, timing, position and a clean lens matter more than price. A phone is often faster and less conspicuous for street scenes.
When is New York least crowded for photography?
Early weekday mornings are generally easiest, though commuter areas can still be busy. Major holidays and events can change normal patterns completely.
Can I use a tripod?
It depends on the property, equipment and impact on others. Observation decks and interiors often restrict tripods, and public paths must never be obstructed.
Is sunrise or sunset better?
Sunrise usually means fewer people; sunset offers easier transport and a natural transition into city lights. Direction and season determine which provides the better light at a specific location.
How many locations fit into one session?
Three or four nearby positions are enough for a focused half-day. More distant pins usually reduce the time available to observe light and create distinctive images.
Final advice
The strongest approach to DUMBO photo spots is patient and selective. Choose one neighborhood, arrive before the best light, explore beyond the exact pin and remain respectful of residents and other visitors. New York rewards observation far more than a rushed checklist.